Blog Post
Maximizing your Kitchen Space with a Single Line Kitchen Plan
Kevin Beck
Dec 21, 2017
Are you daydreaming about taking a sledgehammer to your kitchen walls? Your daydream can become a reality with the proper floor plan. Consider opening up your kitchen with a single line kitchen layout.
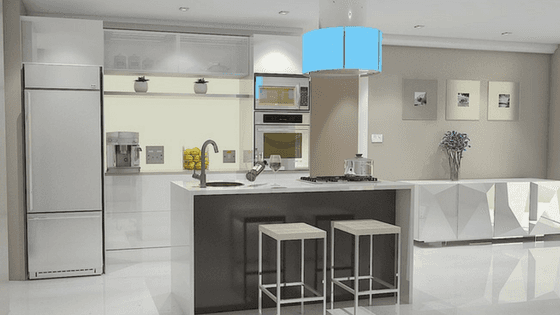
This layout opens up all of the areas around the space making the design one great room that happens to include the kitchen. All of the appliances, cabinets, countertops, and sink are located along one wall. In the past, this plan was popular to maximize space in smaller homes, but designers are adding this plan back into their blueprints with an extra touch. Newer designs incorporate an island with a sink and dishwasher. This addition provides more counter space, storage, and, seating among other benefits.
Space Saver:This design creates extra space due to the kitchen being on one wall. Place a table and chairs in this space, and it can be used as a dining area. Another option is adding a workstation for a laptop, after-school command center, or a hobby area.
Budget-Friendly- Not needing to build unnecessary accent walls will reduce your labor and costs on materials.
Versatile Design: This style fits into anyone's aesthetic, from farmhouse chic, Pinterest DIY, to ultra modern.
Low-Maintenance: Let's be honest, this is not the Brady Bunch era with Alice in the kitchen all day. Now we are slaves to our schedules including extracurricular activities and late night dinners. This design requires less cleaning due to the reduction in surface area.
Inspiring Your Inner Chef: Get back to what you love, cooking! The layout allows the prep work to run smoothly and quickly with everything at an arm's distance.
Face Time: You will no longer have to yell, “What did you say?” “Can you repeat that?” “Huh?” Your family is in the other room laughing and enjoying their time together, while you are alone cooking dinner. The openness of this plan allows your family to still hang out in the living area or sit around the island while you finish up the dinner preparations.
If you’re looking to completely transform your kitchen into something new, but don’t know where to start, let Cumberland Kitchen and Bath help you out! We’d be happy to point you in the right direction, and answer any questions you may have along the way. Give us a call today at 401-334-7317, or visit our website.
Sources:
Kevin Beck • Dec 21, 2017
Cumberland Kitchen & Bath Design Center
1764 Mendon Rd, Cumberland, RI 02864, United States
Whether you’re creating a custom kitchen for your new home or redesigning an existing space as part of a kitchen remodel, countertops can significantly impact the room’s look and functionality. There are many material options available, ranging from granite to quartz and even concrete. They can be vastly different in terms of durability and appearance, each with its own set of advantages and drawbacks. Here’s an essential guide on the most common countertop materials and which one may be best suited to your home. 5 of the Most Popular Countertop Materials Natural Options There are a few types of natural stone suitable for kitchen countertops. Granite . Granite comes from large slabs of stone taken directly from the earth. As a natural formation, each granite slab varies in appearance. You can also customize the finish of your granite countertop, opting for a polished, matte, shiny, or specialty finish. It’s a great choice for the kitchen because of its heat resistance, allowing you to place a hot pan or pot directly on its surface without worrying about damage. Despite its one-of-a-kind charm, granite does have a notable con – porosity. Because granite is so porous, it is prone to staining. Sealing can help prevent discoloration, but this added maintenance step must be performed regularly to ensure proper coverage. Marble . Like granite, marble is cut from the earth. Mineral deposits result in gorgeous swirls and patterns within the stone, making it a classy and luxurious choice for kitchen countertops. Various colors are available, each with its own striking appearance. However, it may not be a fitting choice for the heart of your home because it is soft and porous. Not only is it at risk of staining but scratching, too. Marble counters require regular maintenance to keep it looking pristine. However, even with your best efforts, it can sometimes get a “living finish,” which is a nice way of saying it shows wear and tear. Engineered Options Manmade countertops can be a bit more durable and still be visually appealing. Engineered Quartz . Quartz is a natural material, but most quartz countertops combine the mineral with synthetic products. Quartzite countertops are made of pure quartz but are heavy and complicated to install, so most homeowners turn to quartz instead. Because it is manmade, it comes in various styles and colors. The biggest advantage is that it is naturally stain and scratch-resistant. Plus, it doesn’t require sealing or frequent maintenance to retain these properties. Quartz has some heat resistance but is nowhere near granite. Its seams tend to be more noticeable as well, especially in lighter colors. Concrete . Poured concrete is another manufactured material, making it completely customizable in color, pattern, and style. Concrete can provide a durable countertop surface that will last for decades and is incredibly strong, especially when reinforcing materials are mixed in. It’s an excellent choice for modern homeowners who want a unique shape and appearance in their kitchen. Nevertheless, it can be susceptible to stains, especially if the surface is not sealed and protected regularly. Depending on how intricate of a design you want, concrete countertops can take a while to design, pour, cast, and cure, possibly dragging out your remodel timeline. Solid Surface . Solid surface countertops are a bit of a catch-all category. They can be created from minerals mixed with resins, acrylics, and colorings, like quartz, or made from things like laminate and Formica. These countertops are available in a plethora of shades and patterns, making them quite versatile. They also tend to be more affordable, low-maintenance, and easier to install than other options. Solid surface countertops aren’t porous, won’t stain, and are hygienic. Still, they don’t have the heat resistance, or luxury appeal, of natural stone options. While they're pretty durable, they're not immune to scratches or gouges. Ultimately, the best countertop material for your kitchen depends on your budget, style, and concerns with maintenance and durability.
No kitchen is complete without cabinets, and like other "big ticket" items such as appliances, cabinetry deserves a fair amount of consideration. Selecting the right kitchen cabinets can significantly impact the room's functionality and aesthetic appeal. With a myriad of options available, navigating the selection process can be a bit daunting. However, we've laid out the basics in this handy guide to help you make the most informed choices when choosing your kitchen cabinets.
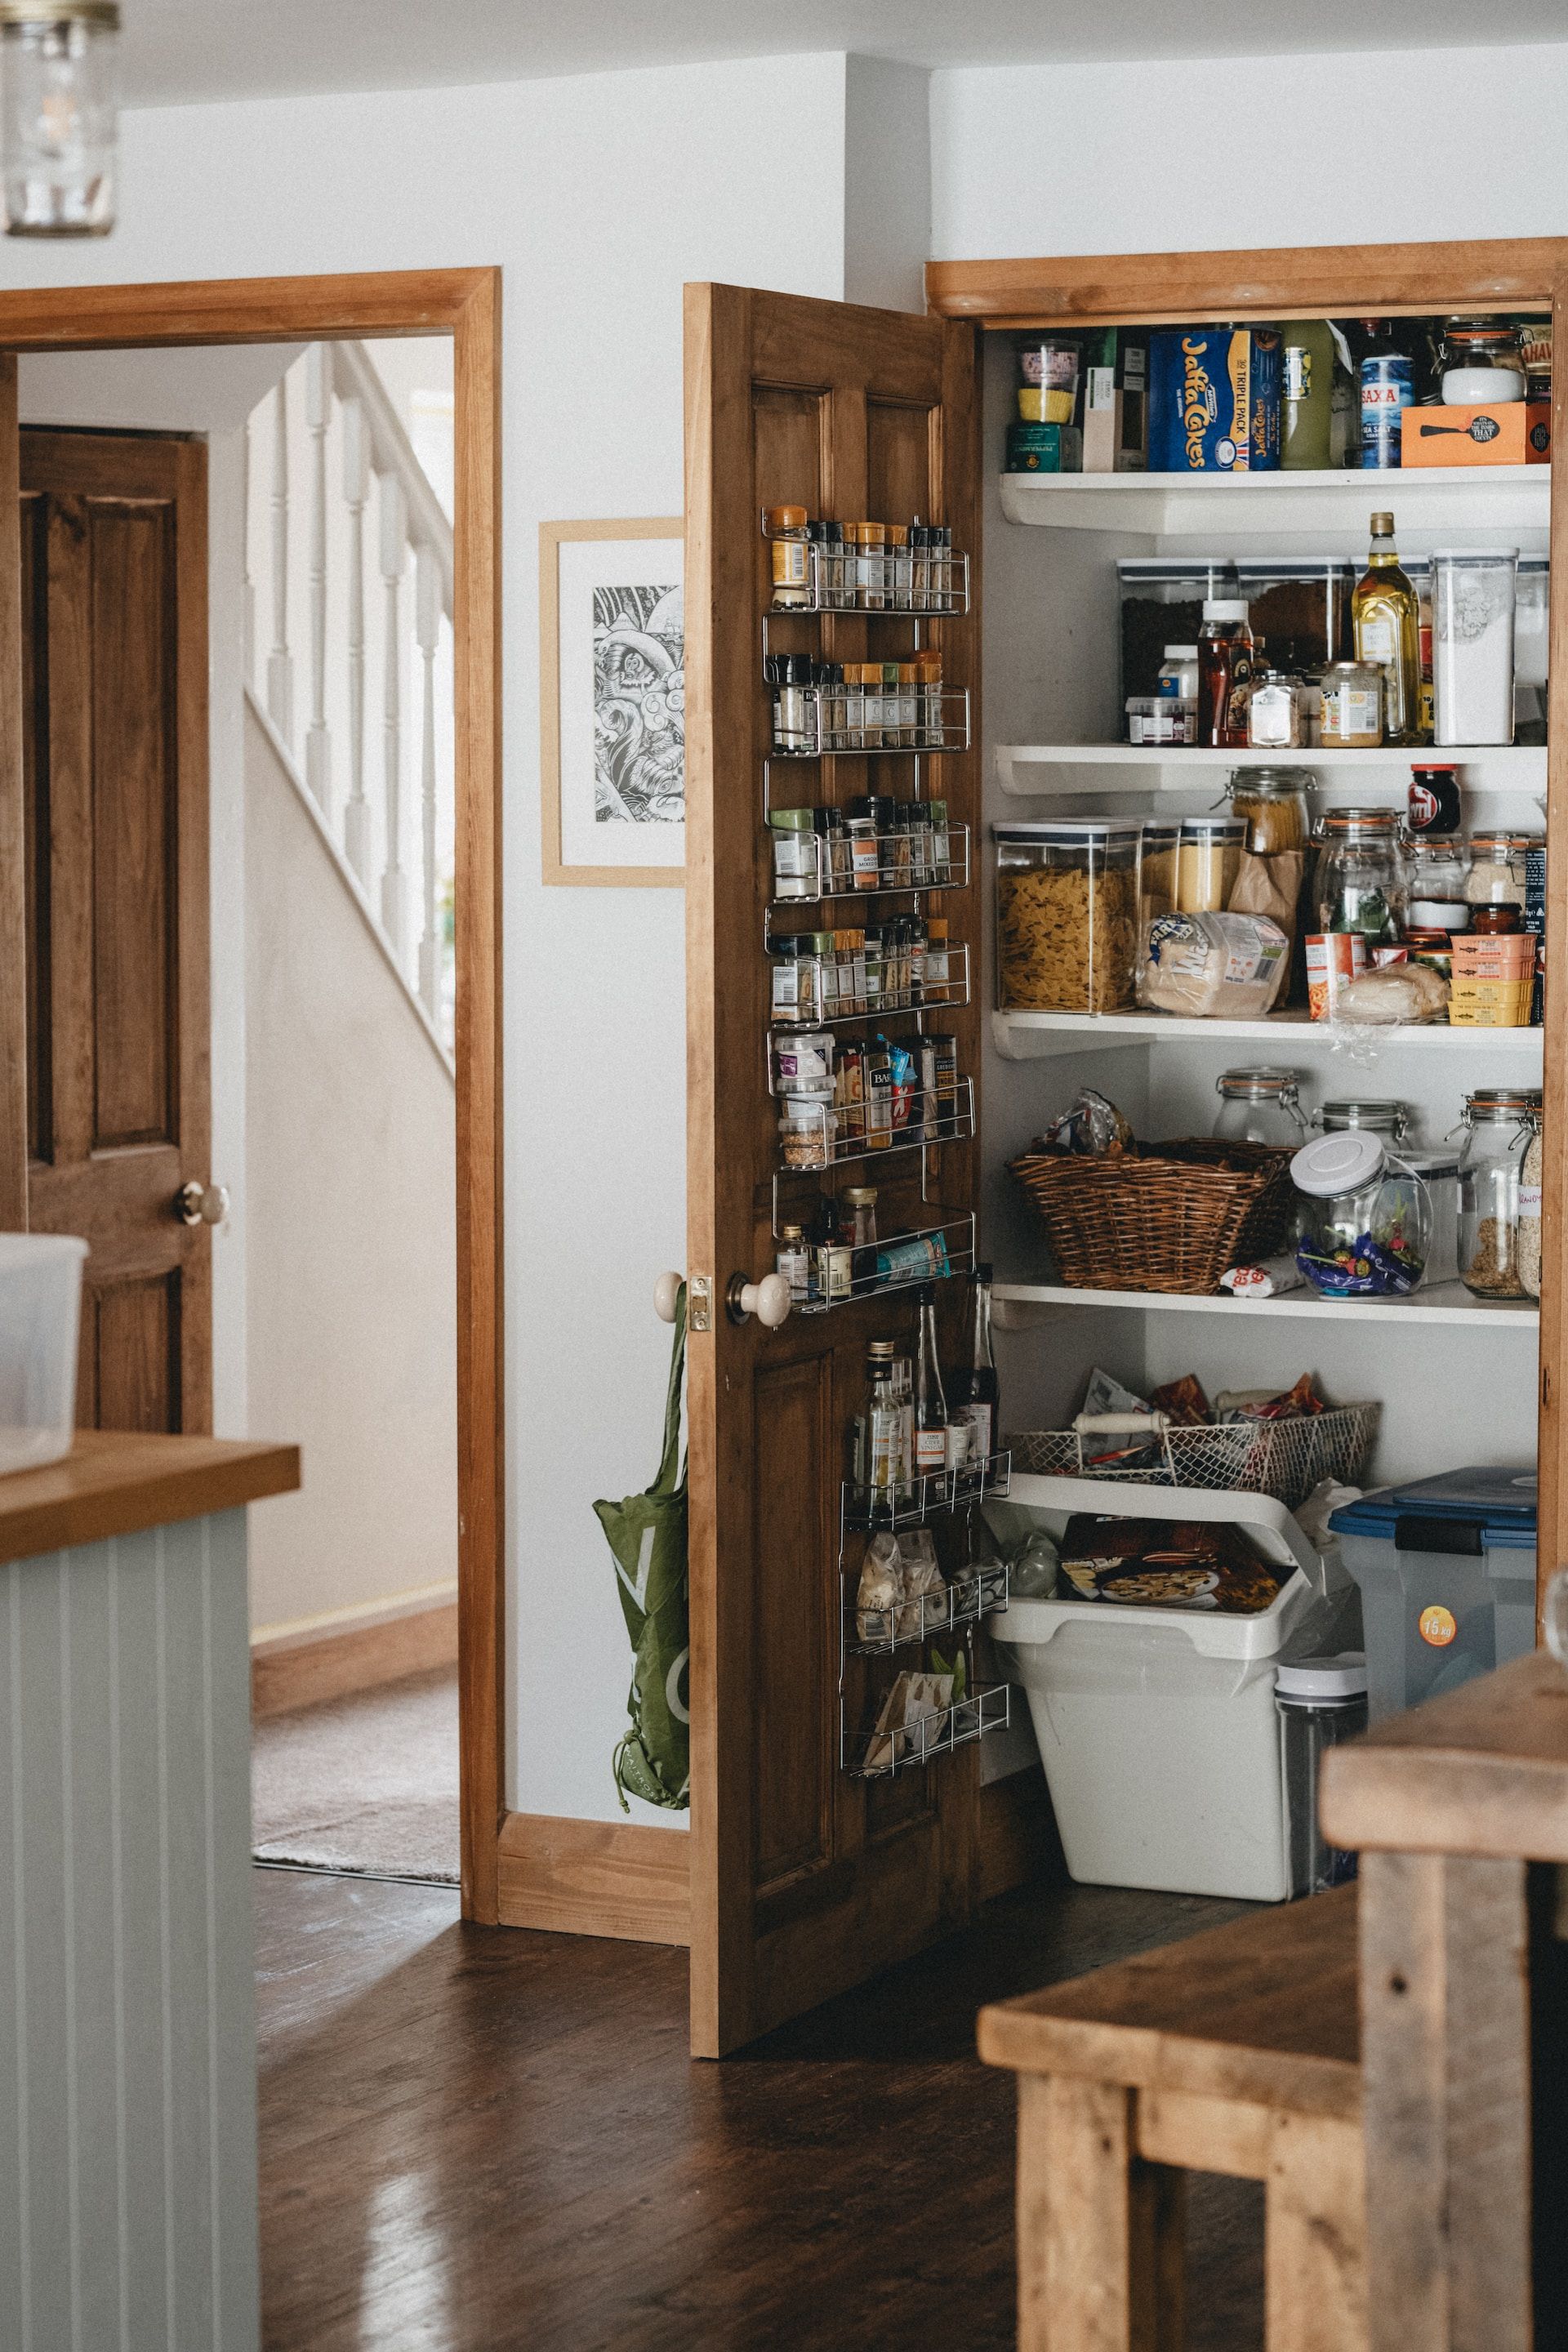
The kitchen is the heart of the home, but for those with limited space, maintaining an organized and efficient space can be a challenge. Fortunately, a bit of creativity and the use of strategic devices can turn even the most compact kitchen into a well-organized cooking oasis. Here are our favorite innovative solutions for maximizing kitchen storage and space, ensuring every inch is utilized to its full potential. Vertical storage . When floor space is at a premium, think vertically. Install open shelving or cabinets that reach all the way up to the ceiling. This maximizes storage space and draws the eye upward, creating an illusion of height and openness. You can use adjustable shelves to accommodate items of various sizes, ranging from appliances to spices. Pull-out shelving . Traditional walk-in pantries are often a dream in small kitchens, but pull-out pantry shelves can be a game-changer. These shelves are designed to fit into narrow spaces, such as the gaps between appliances or beside cabinets. They provide ample storage for canned goods, spices, and other pantry essentials, making them easily accessible. Under upper cabinet storage . Backsplashes are wonderful, but the space beneath the upper cabinets is ripe for storage options. Install hooks or racks for hanging mugs, utensils, or pots and pans. Additionally, consider attaching small baskets or bins underneath cabinets to store kitchen tools or even fresh produce, freeing up prime real estate on your counters. Make use of the inside of cabinet doors . Make the most of every inch by attaching hanging organizers or hooks to the inside of cabinet doors. This space can store pot lids, cutting boards, or even small spices. When the doors close, you'll never know these super-functional storage options exist. Drawer dividers and inserts. It's commonplace these days, but we can't overstate the importance of organizing your drawers with dividers and inserts designed to keep utensils, cutlery, and kitchen tools in order. Adjustable dividers allow you to customize the space based on your needs. Larger organizers can also be used for items like baking sheets and trays, preventing clutter and making them easy to locate. Carts and islands that roll . Introduce portable storage solutions like rolling carts or kitchen islands that can be moved around as needed. These versatile spaces can offer additional counter space, storage shelves, and even a spot for meal prep. Look for models with built-in storage compartments to keep frequently used items within arm's reach. Hang your pots and pans . Save cabinet space (and your sanity) by hanging pots and pans from a ceiling-mounted rack. This not only adds a touch of rustic charm to your kitchen but also keeps your cookware easily accessible. Nesting and stacking containers are key. Even if you have the storage space, streamline with nesting and stackable containers. These space-saving solutions are perfect for organizing dry goods, leftovers, or non-perishable items. Choose clear containers to easily identify contents and maintain a neat and cohesive look. In small kitchens, organization is key to creating a functional and visually appealing space. By incorporating these innovative storage solutions, you can transform your kitchen into an efficient and aesthetically pleasing-looking room where every item has its place.

Kitchens have been the heart of the home for decades, but now, this beloved space is undergoing a technological revolution. Smart technology is seamlessly weaving into every aspect of our lives, and your kitchen is no exception. Thanks to a myriad of innovative devices and gadgets, you can transform your kitchen into a modern, convenient, and connected space for your family and friends. Here's a guide on how you can incorporate smart technology into your kitchen design. Use Smart Appliances for Efficiency One of the most significant advancements in kitchen technology is the creation of smart appliances. From refrigerators to ovens and coffee makers, these intelligent devices can make your life easier and much more efficient (including energy efficiency). Smart refrigerators with touchscreens and cameras allow you to see the contents of your fridge remotely and without even opening the door, helping you keep track of your groceries and save energy. Some models even can suggest recipes based on the ingredients available within your appliance. It doesn't stop there, though. Smart ovens can be controlled via your smartphone, allowing you to preheat, adjust temperature, and monitor your cooking from anywhere. Coffee lovers can enjoy the convenience of smart coffee makers that can be programmed to start brewing a customized cup at a specific time, giving you a few precious extra minutes of sleep. Intelligent Lighting and Climate Control Smart lighting systems are another excellent addition to a modern kitchen. These systems often come with customizable color options, allowing you to create the perfect ambiance for any event or occasion. Plus, the integration of motion sensors illuminates your kitchen based on your presence and turns the lights off for you when you leave. Climate control, in the form of smart thermostats, can help you maintain the perfect temperature. In contrast, smart vents can direct airflow to specific kitchen areas, providing a comfortable and energy-efficient experience wherever you need it most. Voice-Activated Assistants for Hands-Free Operation Voice-activated assistants, such as Amazon Alexa or Google Assistant, have become indispensable in modern households. By adding one to your kitchen, you can set timers, add items to your shopping list, or even ask for recipe instructions without touching a single button. Smart Storage Solutions Functional yet stylish storage is a key component of a well-designed kitchen. Smart technology can be integrated into cabinets and drawers, providing solutions like touch-activated doors and automated pull-out shelves. Additionally, some systems even come with inventory management features, helping you keep track of your kitchen supplies and groceries so you know when it's time to restock! Simple yet smart additions to your kitchen Just because smart gadgets are technologically advanced doesn't mean they don't have a place in the most traditional staple of a home – the kitchen. Incorporating devices into your kitchen is a game-changer, offering convenience, efficiency, and an overall enhanced living experience. As technology continues to advance, the possibilities for creating a connected and intelligent kitchen are endless. Whether you're a culinary enthusiast or just looking to simplify your daily routines, embracing smart technology in your kitchen is a step towards a more comfortable and functional home.

Many of us are apt to adorn our living rooms with garland or decorate our front porches with seasonal foliage, but outfitting your entire home with holiday decor can infuse it with festive cheer in every corner, especially when you consider spaces beyond the traditional spaces. Two areas that shouldn't be overlooked are the kitchen and bathroom. Here's how to embrace seasonal holiday decor in these functional spaces, along with some tasteful examples and tips. Dressing up the Kitchen The kitchen is the heart of the home and a hub of activity during the holiday season. Therefore, it deserves its share of festive charm. Festive Linens and Dishware: Replace your everyday understated kitchen linens and dishware with holiday-themed ones. A table runner featuring reindeer, placemats with snowflakes, or dishes showcasing pine and holly can make every meal feel festive. Potted Plants: While swapping out your potted plants may not be the first decorating tip that comes to mind, adding holiday-themed plants such as poinsettias or rosemary topiaries is a simple way to add floral focal interest to a room. They are fragrant, beautiful, and perfectly aligned with the season. Window Decor: Adorning your kitchen windows with garland or wreaths is a timeless and traditional holiday decorating tip. Adding lights will create a magical glow during those winter evenings when the sun sets early. Holiday-themed Centerpiece: If there's one quick and easy way to instantly decorate for the holidays, it's a show-stopping centerpiece. Place a centerpiece on your kitchen island or table that draws the eye and screams festive cheer. Consider a seasonal fruit and pinecone basket, a miniature Christmas tree, or a candle arrangement. Homemade Decor: Sometimes, nothing makes you smile like homemade decorations lovingly crafted by friends and family. Paper snowflakes, homemade ornaments, or garlands of dried oranges and cinnamon can hang from a pot rack or backsplash. Brightening up the Bathroom That's right, you can transform your bathroom into a surprising holiday haven! Whether it's for your guests or in an attempt to make your morning routine cheerier, here are our top tips. Towels and Bathmats: A simple yet impactful way of bringing festivities to your bathroom is by swapping everyday towels and bathmats with holiday-themed ones. There's no shortage of decorations and designs honoring everything from Christmas to Hanukkah and Kwanza. Holiday Scents: Scented candles or essential oils in seasonal fragrances like cinnamon, peppermint, or pine can create an immersive holiday experience and freshen up a sometimes not-so-fresh space. Festive Bath Accessories: Opt for a holiday-themed soap dispenser, toothbrush holder, or even holiday-patterned toiletries for a surprise festive element. These products are effortless to pull out year after year, so your holiday decorating can come together in a snap! Ornaments: Not all holiday ornaments belong on the tree. Hang miniature ornaments off of exposed plumbing or handles for a festive twist. We just recommended ones made of materials that can be easily wiped clean (skip the fuzzy or glittery ones). Window Decor: Don't forget the bathroom windows. A small wreath, holiday-themed window clings, or even a tasteful string of white lights can add an unexpected finishing touch. Tips to Consider for Both Spaces Stick to a Theme: Having a consistent theme, whether it's classic red and green, rustic country, or wintery white, will create a harmonious feel throughout your home. Less is More: These are functional spaces, so less is definitely more. Keep decorations to a reasonable and tasteful level that doesn't interfere with the room's use. Safety First: Always consider safety in your decor decisions, especially because the bathroom isn't usually under constant surveillance. Avoid flammable decorations and ensure floor decor doesn't become a tripping hazard. Extending your holiday decor to the kitchen and bathroom lets you immerse yourself in the season's spirit. With a few simple changes, you can weave holiday magic into every room of your house!
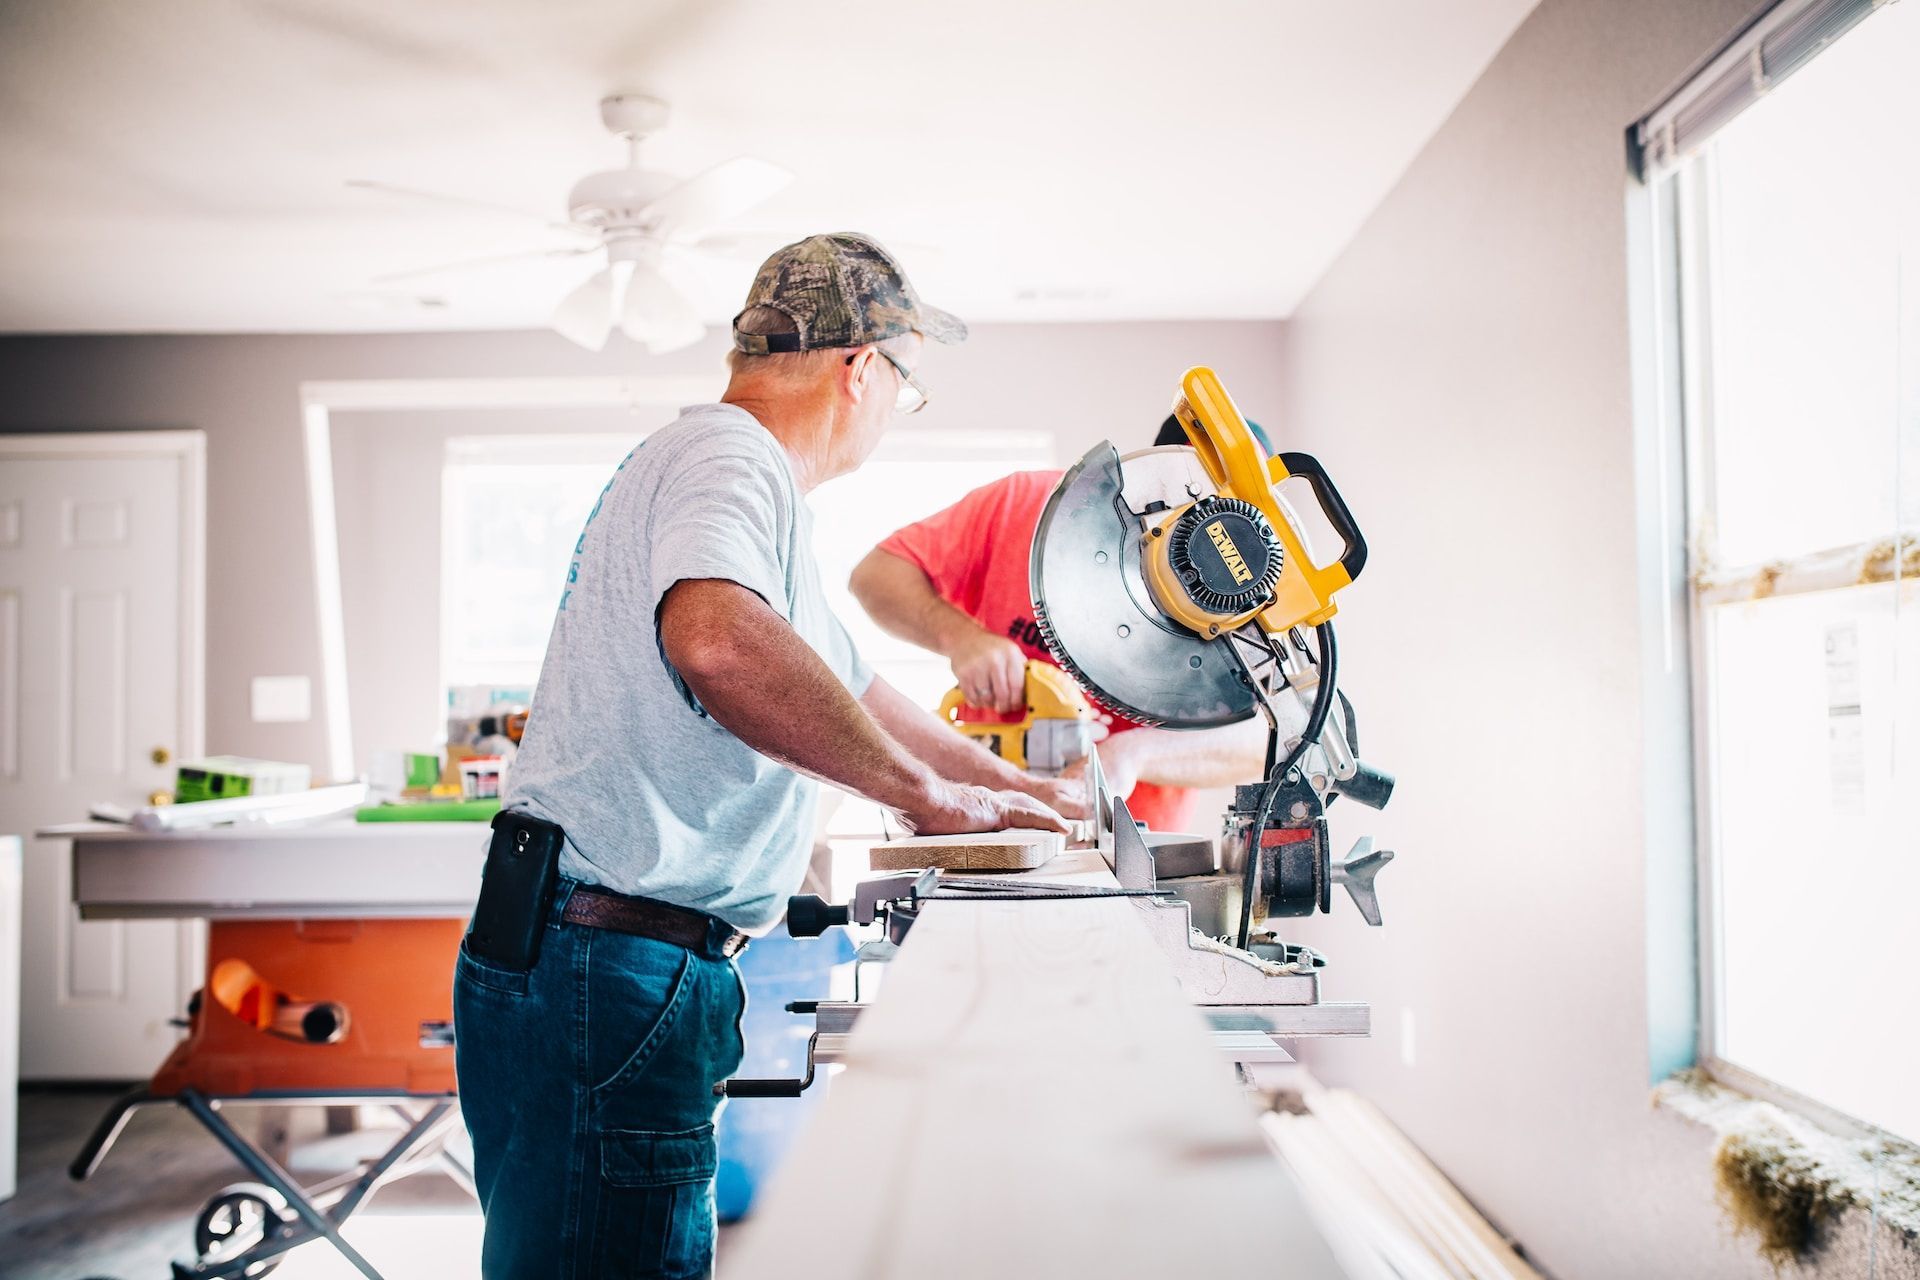
Whether you're going to DIY a renovation or hire an expert, budget is always a major concern of homeowners tackling an improvement project. If you're dreaming of a kitchen remodel or simply need some essential repairs, financing options can make your projects a reality. However, understanding the pros and cons of the various ways to finance your home improvement dreams is essential. So, here's a brief breakdown. 1. Savings If you've been diligently squirreling away some money, using your savings is always the best option. It's interest-free, doesn't involve credit checks, and you won't have to worry about monthly payments. But, not all of us have a stash of cash hidden under the mattress or buried in the backyard, which may require other financing options. Additionally, most homeowners don't want to completely wipe out their savings, so you may need to use a combination of options. 2. Home Equity Loans Do you have a good amount of equity in your home? Equity is the difference between two factors – how much you owe on your mortgage and how much your home is worth. Home equity loans let you borrow against the value you've built in your property. You'll get a lump sum upfront that you can then use for your projects. Generally, interest rates tend to be lower than unsecured loans, and the interest might be tax-deductible. But it's very important to note that you are using your home as collateral, so it's essential to be sure you can handle the payments. 3. Home Equity Line of Credit (HELOC) Think of a HELOC as a revolving line of credit that works similarly to a credit card, allowing you to draw on it when needed. A lender will agree to give you a certain amount of funds within an agreed-upon period of time. You only pay interest on what you use, but again, you are borrowing against your home's equity. It's a bit like a personal finance tool for home improvement projects. Again, with your house on the line, just be cautious not to overextend yourself. 4. Personal Loans If using your home as collateral sounds too scary, personal loans might be a good option. They're unsecured, which means you won't risk your property, but they might come with higher interest rates compared to home equity loans. Thoroughly reviewing lenders and weighing your options for competitive rates and terms is always a good idea. 5. Credit Cards For smaller home improvement projects or those you're confident about paying off quickly, credit cards can be a convenient way to finance your projects. Of course, there are lots of options out there, each with different terms and rates, meaning it's a good idea to be mindful of high interest rates should you carry a balance. 6. FHA Title I Property Improvement Loan If you're eligible, the Federal Housing Administration (FHA) offers Title I loans specifically for home improvement projects. These loans are backed by the government, making them more accessible to individuals with lower credit scores. The loans are issued by approved lenders, so you'll need to check with your local financial institutions to see if they're on the approved list and can offer these types of loans. 7. Refinancing Your Mortgage If you're planning extensive renovations and have a high interest rate on your existing mortgage, consider refinancing. Refinancing your mortgage means switching over your old mortgage to a new one that carries a different principal and interest rate. This can help you access equity in your home and potentially lower your monthly payments. Or, you may choose a cash-out refinance that gives you a lump sum upfront for your renovation projects. Just remember that it's a long-term commitment and usually means your home is used as collateral. The right financing option for your home improvement projects depends on your financial situation and the scope of your projects. But regardless of the option you choose, you should shop around for the best rates, read the fine print, and double-check you're comfortable with the terms before you sign on the dotted line.

Designing a bathroom that is accessible is about creating a space that promotes independence, safety, and comfort. By incorporating accessibility features into your bathroom design, you can make this essential space usable for everyone in your home. In this blog, we'll explore some essential tips for creating an accessible bathroom that caters to the needs of those with varying abilities. Considerations that make your bathroom accessible for all Wider Doorways Start by ensuring the bathroom doorways are wide enough to accommodate a wheelchair or other mobility aids. A minimum width of 36 inches is recommended. This allows for easy access and maneuverability within the bathroom. Zero-Threshold Showers Traditional shower curbs can be a significant obstacle for individuals with mobility issues, as they may not be able to get over the lip of the shower stall base. Instead, opt for a zero-threshold or roll-in shower design that eliminates any barriers between the bathroom floor and the shower area. This provides easy access for wheelchair users and reduces the risk of tripping. Similarly, you can incorporate special bathtubs with a door as a walk-in feature instead of requiring the user to step up and over the edge. Grab Bars Install grab bars strategically throughout the bathroom, especially in the shower and around the toilet. These bars provide stability and support when standing up or moving around the bathroom. Make sure they are properly anchored to the wall to ensure safety. Raised Toilet Seat A raised toilet seat can make a significant difference in bathroom accessibility. It helps individuals with mobility challenges to sit down and stand up more easily. Consider installing one with grab bars for added support. Non-Slip Flooring Choose non-slip flooring materials for the bathroom to prevent accidents and provide stability. Options like textured tiles, slip-resistant vinyl, or rubber flooring can improve safety by reducing the risk of slipping, even when the floor is wet. Handheld Showerhead A handheld showerhead on a slide bar allows users to adjust the height and angle of the water stream, making showering more accessible for individuals with various needs. This feature can also be useful for caregivers assisting with bathing. Lever-Handle Faucets Replace traditional knobs with lever-handle faucets. Lever handles are easier to grip and turn, making it simpler for individuals with limited hand strength or dexterity to control water flow and temperature. Accessible Sink You may want to skip the traditional sink with cupboards or drawers underneath. Install a wall-mounted or pedestal sink with open space underneath. This design allows individuals using wheelchairs to roll up to the sink and access it comfortably. Make sure the faucet controls are easy to reach and use. Adequate Lighting Good lighting is essential in an accessible bathroom. Ensure that the bathroom is well-lit, with evenly distributed light. Consider adding motion sensor lighting near the entrance for added convenience. Usable Mirrors Over-the-sink mirrors are fantastic for bouncing light around your space. Still, they may not be the most functional choice for those with varying abilities. Alternatively, an angled cosmetic mirror on an adjustable wall-mounted arm allows the mirror to be pulled away from the wall and in a direction suitable to the user. A safe and functional space Designing an accessible bathroom is about creating a space that empowers individuals with disabilities to maintain their independence and dignity while keeping them safe and comfortable. By incorporating these accessibility features into your bathroom design, you can make this essential part of your home welcoming and functional for everyone.
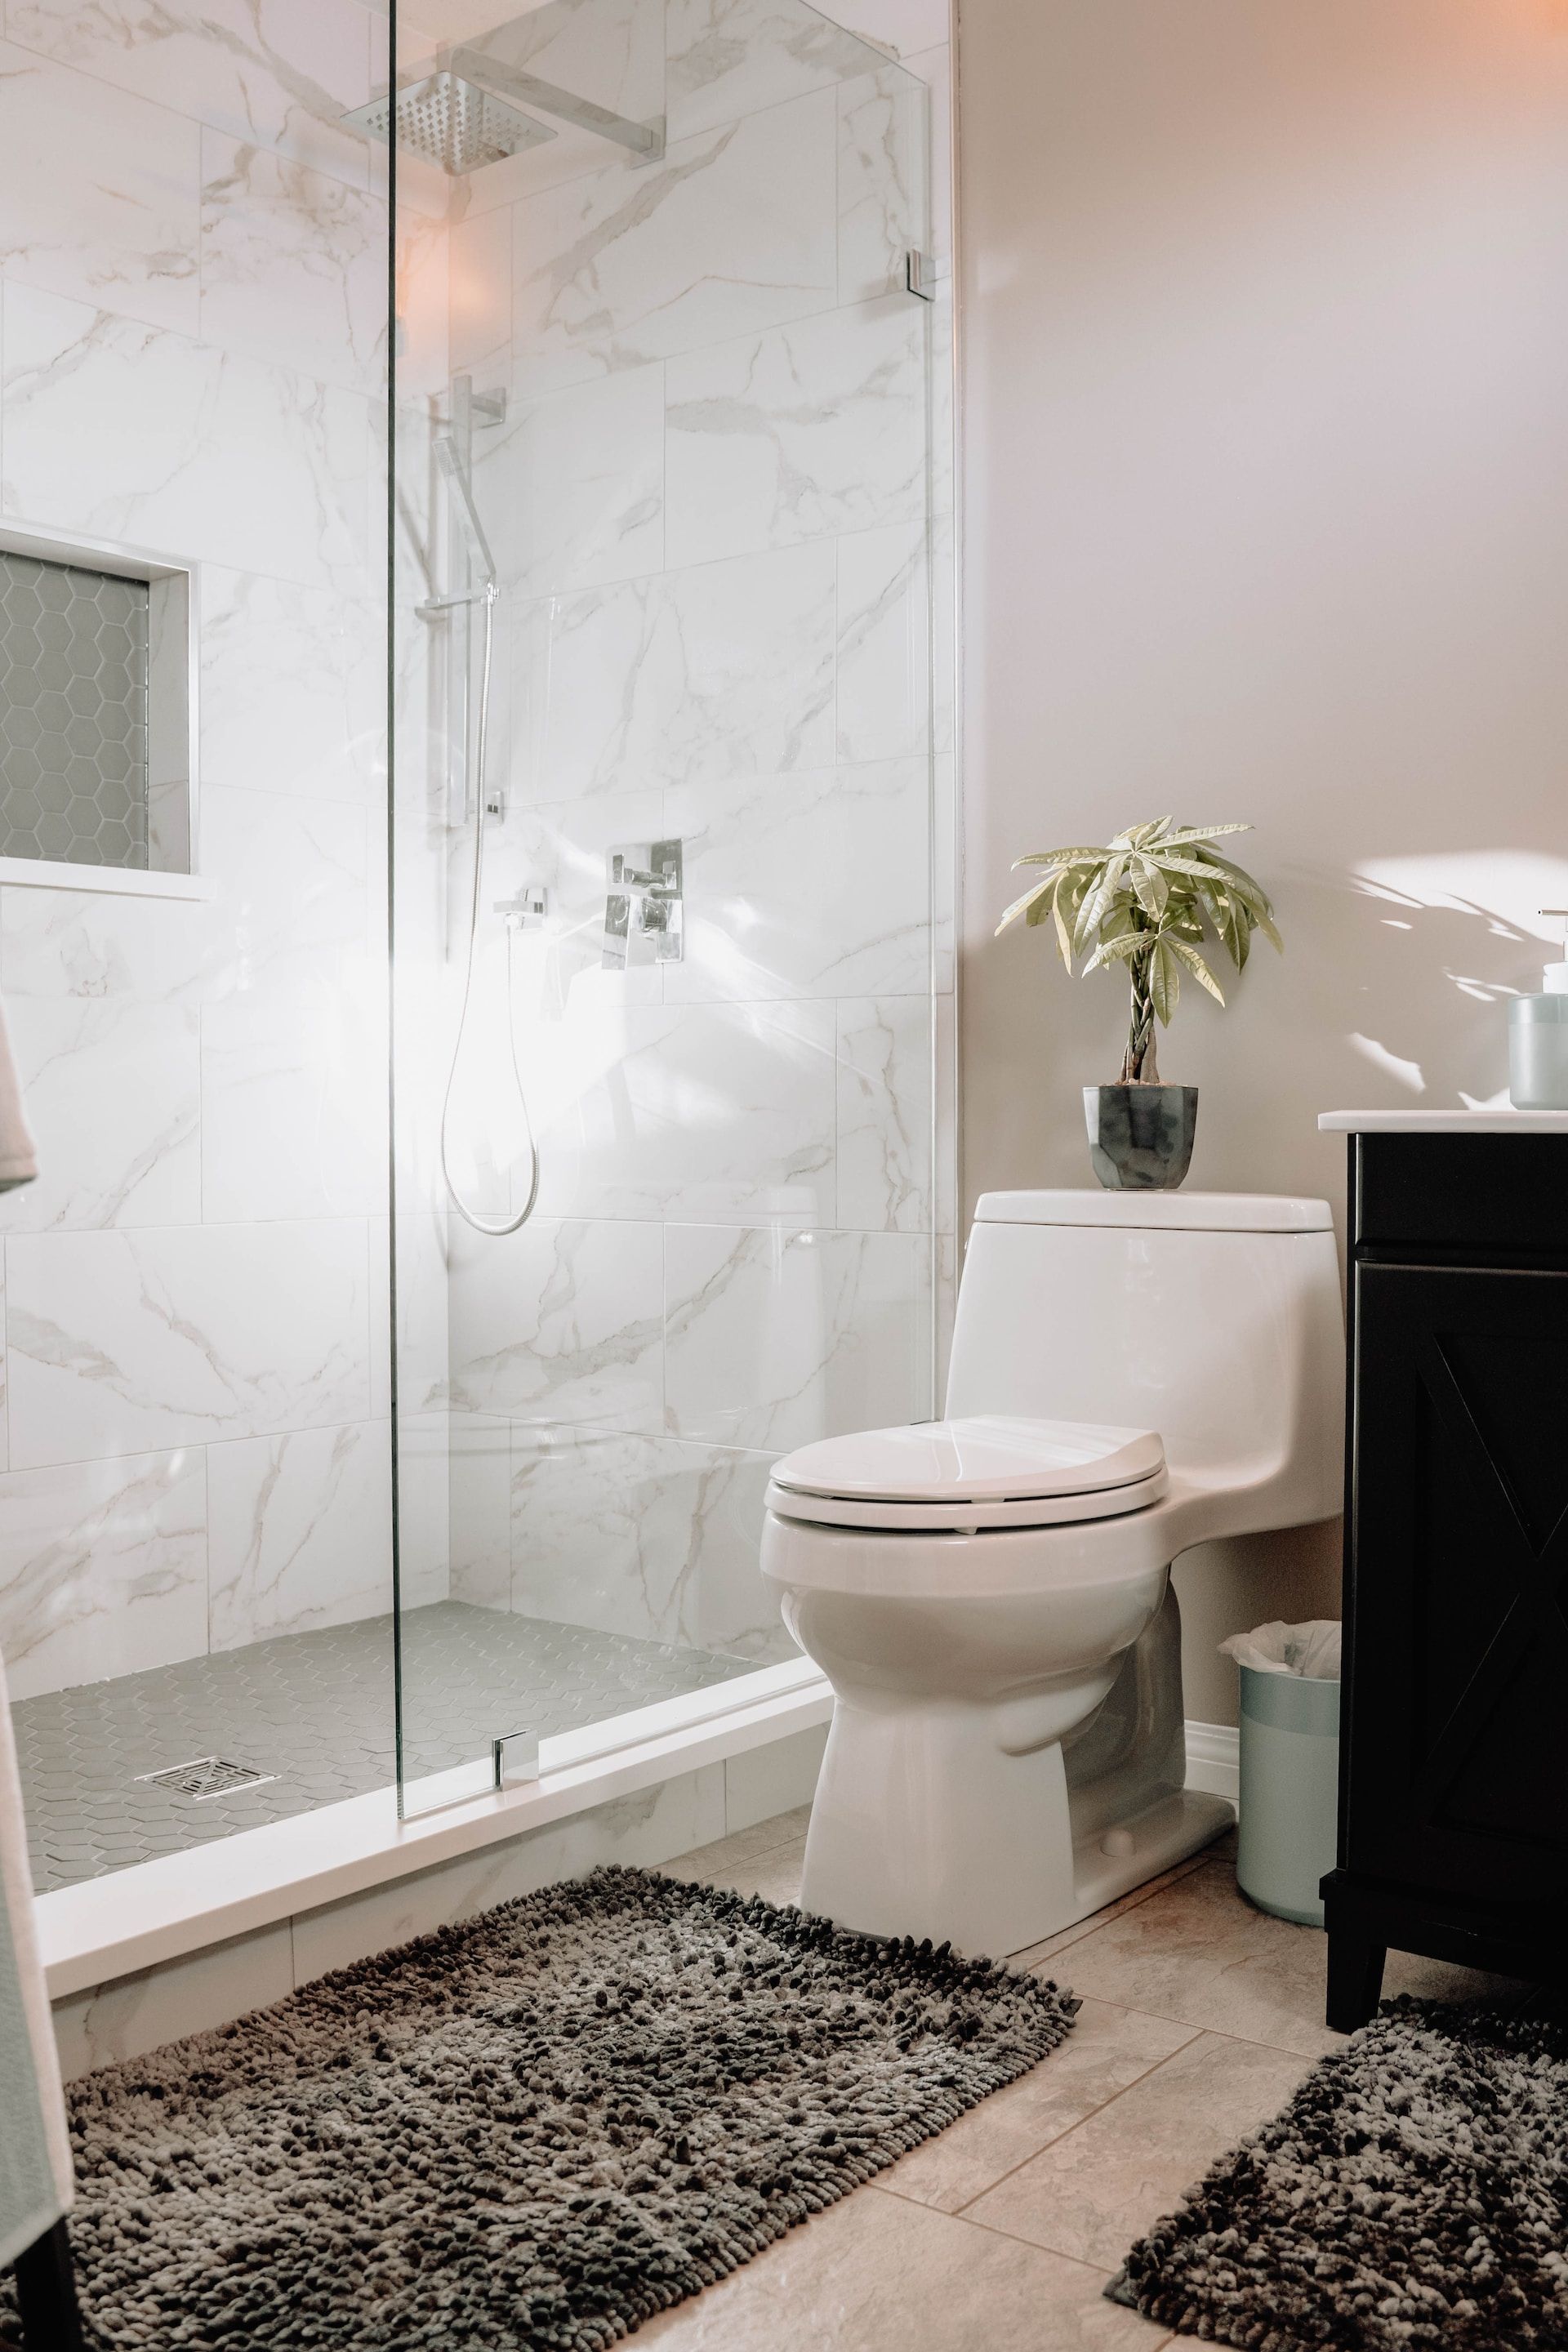
Very few homeowners are lucky enough to have palatial bathrooms. That doesn’t mean you must suffer in a small space, though. These designer tips will help your tiny bathroom to feel larger, airier, and more functional. 5 Tips for Making a Small Bathroom Better 1. Don’t confine yourself in the shower Shower doors are best suited to large bathrooms. If you have a small space, skip the door and opt for a glass panel or a shower curtain. A glass panel sitting only by the shower head allows you to move freely about the tub or shower while preventing water from escaping. Similarly, a shower curtain helps contain water while offering more elbow room. The fact that they both slide back and forth (or don’t move at all) instead of swinging out helps free up your floor plan. 2. Go big (with your pattern) Petite patterns can feel overwhelming if you are already operating in a tiny space. Surprisingly, large-scale patterns can help to make the room feel more open, tricking the eye into thinking there is more depth to the space. A large repeating pattern is ideal. Plus, these wallpapers or tiles help add character to the space without requiring much décor or accessories. 3. Branch out from the traditional vanity A small bathroom doesn’t equal a tiny pedestal sink; you have options. For example, a floating vanity is a great space-saving solution. A floating vanity provides room to store items underneath it (as well as in it). It also gives the illusion of depth, making your space feel larger and more open. You can also extend your vanity countertop down the wall and above your toilet. It creates a functional shelf to hold smaller items without impacting toilet placement. If you are going for a pedestal, newer models that feature a shelf beneath instead of the traditional singular column are best. 4. Get creative with your sink Every bathroom needs a sink, making it one design feature you can’t omit. Nevertheless, standard sinks have gotten an upgrade over time, making them both aesthetically appealing and enhancing their functionality for small spaces. Corner sinks are particularly helpful as they have a small footprint on the layout. Another slim sink is a trough sink. Long and narrow, these low-profile options don’t cut into room space and give your bathroom a sleek look. 5. Use lights and mirrors to your advantage Lights and mirrors are two other bathroom necessities that you can use to your advantage. Playing with wall-mounted lights, like scones, and properly positioned mirrors can help make your bathroom appear more open and airy. When light is reflected around the room, your space instantly feels larger. One way to maximize this trick is by installing a large mirror instead of a small over-vanity one. In fact, creating a mirror wall in which one entire wall surface is covered in a mirror is the ideal stand-in for a missing window and its natural light, making your room feel downright expansive. A few intentional design tricks implemented thoughtfully can do wonders to improve your small bathroom’s functionality and aesthetic.